
Categories
Padel

From Shoulder Surgery to Back on the Court: One Padel Player’s Return to Sport

Six months ago, Alex wasn’t sure he’d ever swing overhead again without pain. Today, you can find him on the padel and tennis courts up to twice a day, seven days a week. This is what shoulder surgery recovery and a sport-focused return-to-play plan looked like for him, and what it might look like for you.

The Injury: When Padel Stopped Being an Option

There wasn’t one big moment where Alex’s shoulder gave out. It was years of wear and tear catching up with him: hundreds of tennis matches, plus a newer obsession with padel that only added to the load. He was working out seven days a week and slowly learned to work around the pain: modifying his workouts, calling it quits early in games, and icing his shoulder after almost every session.

Eventually, the workarounds stopped being enough. Alex had surgery to repair a torn rotator cuff (the group of muscles that holds your shoulder joint together and lets you lift your arm), reattach a torn bicep tendon, and clean up damage in his labrum (the cartilage ring that helps keep the shoulder joint stable).

Surgery meant Alex had to stop training completely, a hard shift for someone that active. The doubts crept in fast: Would his shoulder ever feel normal again? Could he even work out the way he used to? Would he wince every time he tried to hit an overhead shot? For a lot of people facing shoulder surgery, that mental hurdle is just as real as the physical one.

Why “Just Do PT” Wasn’t the Plan

At Alex’s very first visit, he made one thing clear: getting back to padel and tennis wasn’t a nice-to-have, it was the goal. A generic post-surgical protocol wasn’t going to cut it for someone with that specific of a target to hit.

So instead of following a one-size-fits-all rehab timeline, we built Alex a sport-specific return-to-play plan from day one. We used his surgeon’s post-surgical protocol as the foundation, but layered in objective testing and sport-specific benchmarks along the way, so every decision about progressing his rehab was based on how his shoulder was actually performing, not just how many weeks had passed.

Phase 1: Protecting the Repair

The first few weeks after surgery set the tone for everything that came after. Our top priority was protecting the repair itself, which meant strict limits on shoulder movement and, at first, not using the arm at all.

Understandably, people hear “don’t move your shoulder” and assume physical therapy has nothing to offer yet. That’s not the case. During this phase we focused on everything around the shoulder that we could safely work on: motion in the shoulder blade and neck, grip and wrist strength, and light elbow exercises. Keeping these areas strong and mobile while the surgical site healed meant Alex didn’t lose all his progress. He walked into Phase 2 with momentum instead of starting from zero.

Phase 2: Rebuilding the Foundation

Over the following couple of months, we gradually restored Alex’s shoulder range of motion and started rebuilding strength in the basic movement patterns everything else depends on. That meant slowly getting him comfortable putting weight through the shoulder again, and building strength in pulling and pressing motions.

We also worked on building his tolerance for overhead positions (arm raised above shoulder height) a little at a time. This phase isn’t the exciting part of recovery, but it’s the part that makes everything after it possible. You can’t safely swing a racquet overhead if your shoulder can’t yet tolerate the position at rest.

Phase 3: Getting Back to the Sport

This is where rehab stopped looking like traditional physical therapy and started looking more like sports training. Understanding what padel and tennis actually demand from the shoulder (fast overhead motions, quick direction changes, repeated swings) shaped everything we did here.

Before reintroducing any sport-specific movement, we checked a few boxes first:

  • Was his range of motion symmetrical, side to side?
  • Did he have at least 75% of his strength back in key shoulder muscles, compared to his other side?
  • Could his shoulder tolerate movement at speed, not just slow and controlled?

Once Alex cleared those benchmarks, we built a return-to-sport progression specific to his case. We started with swings kept below chest height and gradually increased the intensity from there. From that point, we reintroduced overhead swings step by step, while increasing his exposure to sport-specific positions during his PT sessions, so his shoulder was ready for the court, not just for the clinic.

Back on the Court

Anyone who’s gone through a serious injury knows the recovery is as much mental as it is physical. Throughout this process, Alex questioned whether he’d get back to the things he loved: padel, tennis, golf, lifting weights. He’s said his commitment to physical therapy made all the difference in getting him back to where he wanted to be: on the court, playing the sports he loves, feeling better than he has in years.

What This Means If You’re Facing the Same Thing

If shoulder pain has you modifying your workouts, cutting games short, or wondering whether surgery and recovery mean giving up the sports you love, you don’t have to figure it out alone, and you don’t have to settle for a generic recovery plan. A sport-specific approach to rehab, guided by real benchmarks instead of just a calendar, can make the difference between “cleared to play” and actually feeling ready.

If you’re preparing for shoulder surgery, recovering from one, or just dealing with shoulder pain that won’t go away, reach out to schedule an evaluation. We’ll build a plan around your goals, whatever sport or activity you’re working to get back to.

Categories
Equestrian

The Physical Demands of Equestrian and Polo Riding (And Why Riding Alone Isn’t Enough)

If you ride jumpers, play polo, or compete in dressage, you already know riding is a workout. Your legs burn after a long lesson, your core gets tired holding position, and your grip fades late in a match. But here’s something a lot of riders don’t realize: riding your horse, even a lot of it, doesn’t build all the strength and control your body needs to ride well and stay injury-free.

This post breaks down what your body actually has to do in the saddle, how those demands shift depending on your discipline, and why a strength and conditioning program built around riding can close the gaps that riding itself can’t.

Riding Is a Full-Body Sport, Not “Sitting on a Horse”

Watching someone ride, it might look like the horse is doing most of the work. It isn’t. Your body is constantly making tiny corrections, resisting movement, and producing force, often without you even noticing you’re doing it.

A few things your body has to manage every ride:

  • Keeping your trunk (your core and lower back) stable while the horse moves underneath you
  • Staying relaxed through your arms and legs while still being strong enough to hold your position
  • Reacting instantly to changes in speed, direction, and terrain
  • Gripping with your legs or hands for long stretches without letting your muscles fully rest

None of this is passive. It’s demanding, repetitive, low-level work that adds up over the course of a ride, a lesson, or a match.

The Physical Themes Every Rider Deals With

Whether you’re jumping a course, playing a chukker of polo, or riding a dressage test, a few core physical demands show up across all disciplines.

Core Stability, Especially When You’re Tired

Your trunk (chest, low back, and pelvis) needs to stay steady while your horse moves in every direction beneath you. That means resisting unwanted bending, twisting, and side-to-side sway, over and over, for the length of your ride.

Early in a ride, this feels manageable. But as fatigue sets in, riders often start compensating. You might grip harder with your legs, tense up your shoulders, or let your position break down little by little. That’s usually a sign your core doesn’t have the endurance to keep doing its job.

A Stable Trunk With Relaxed Arms and Legs

Good riding position isn’t about being stiff. It’s about having a stable center (your trunk and pelvis) while your arms and legs stay relatively loose and responsive.

This matters more than most riders think. Horses are sensitive to tension. When a rider tightens up through the hips, legs, or hands, the horse can feel it, and it can change the horse’s gait or responsiveness. So the goal isn’t maximum strength everywhere. It’s building enough stability in the right places so you can stay relaxed in the others.

Hip Strength and Mobility

Your hips are doing constant work: absorbing the horse’s movement, helping you maintain your seat, and controlling your leg position. Riders need strength and control through a wide range of hip positions, not just the narrow range they sit in most often.

Weak or stiff hips often show up as excessive gripping, which brings us to the next point.

Hip Strength and Mobility

Weak or stiff hips often show up as excessive gripping, which brings us to the next point.

Inner Thigh (Adductor) Endurance

The muscles on the inside of your thighs, called your adductors, play a big role in keeping you secure on the horse. This isn’t about how much force they can produce in a single squeeze. It’s about how long they can keep working without fatiguing.

As a ride goes on and those muscles tire, riders often lose position bit by bit. Building endurance here, not just strength, is what helps you hold your seat through the last few minutes of a hard ride.

Rotational Strength and Control (Especially in Polo)

If you play polo, you know this one well. Hitting the ball means rotating through your trunk with real force, all while staying balanced and keeping your lower body in control. Generating rotational power without losing your position in the saddle takes a specific kind of trained strength that riding alone doesn’t fully build.

Balance and Body Awareness

Your body is constantly adjusting to what the horse is doing: changes in speed, direction, footing, and rhythm. This skill, often called proprioception (basically, your body’s sense of where it is in space), gets harder to maintain as you fatigue. A tired rider reacts more slowly and less precisely, which is where balance issues and compensations start to creep in.

Grip and Upper Body Endurance

Holding the reins with the right amount of pressure, not too much, not too little, for an entire ride takes real endurance in your hands, forearms, and shoulders. This becomes especially important for riders who spend long hours in the saddle, where fatigue in the upper body can affect rein contact and communication with the horse.

How the Demands Shift by Discipline

While those themes apply across the board, each discipline asks something a little different of your body.

Jumpers

Jumping requires short bursts of explosive effort and quick changes in body position. Your lower body needs strength and stability to handle the takeoff and landing of each jump, while your trunk has to stay controlled as your position shifts forward and back over the horse.

Polo

Polo combines high-speed riding with constant acceleration and deceleration, plus the rotational demands of hitting the ball. Riders also deal with unilateral loading, meaning force isn’t distributed evenly between both sides of the body, and asymmetrical positions, like reaching outside your base of support to make a play. All of this demands a body that can produce force quickly, absorb impact, and stay controlled while moving in less predictable patterns.

Dressage

Dressage looks smooth and controlled from the outside, but that control takes serious physical work. It requires a high level of postural control, isometric endurance (holding a muscle contraction without much movement), and the ability to make small, precise adjustments while holding a consistent position for long stretches of time.

So Why Isn’t Riding Enough on Its Own?

This is the part that surprises a lot of riders. Time in the saddle builds your skill and feel for the sport, no substitute for that. But from a pure physical-development standpoint, riding tends to be fairly repetitive. It trains your body in a fairly narrow way, which means certain physical qualities just don’t get built through riding alone.

Common gaps we see in riders include:

  • Maximal strength
  • Rate of force development (how quickly you can produce force, not just how much)
  • Trunk strength and endurance
  • Single-leg strength and stability
  • Rotational strength
  • Hip mobility
  • Aerobic capacity (your endurance engine)
  • Anaerobic capacity (your ability to sustain short, intense efforts)
  • Recovery capacity between rides, matches, or events

This is exactly where strength and conditioning comes in. The goal isn’t to make you strong for the sake of being strong. It’s to build the specific physical qualities that let you hold your position longer, absorb the horse’s movement more efficiently, produce force when you need it, resist fatigue late in a ride or match, and stay relaxed and coordinated even as the demands of your sport increase. Strength training doesn’t replace the skill of riding. It fills in the physical gaps that riding alone leaves behind, so your body can actually keep up with what your sport is asking of it.

Ready to Ride Stronger?

If you’ve noticed your position breaking down late in a ride, you’re dealing with recurring hip, back, or shoulder discomfort, or you’re recovering from an injury and want to get back in the saddle the right way, a personalized evaluation can help. We can look at how your strength, mobility, and movement patterns match up with the demands of your specific discipline and build a plan to close those gaps. Reach out to our clinic to schedule an evaluation and start training for the sport you actually do.

Categories
CrossFit

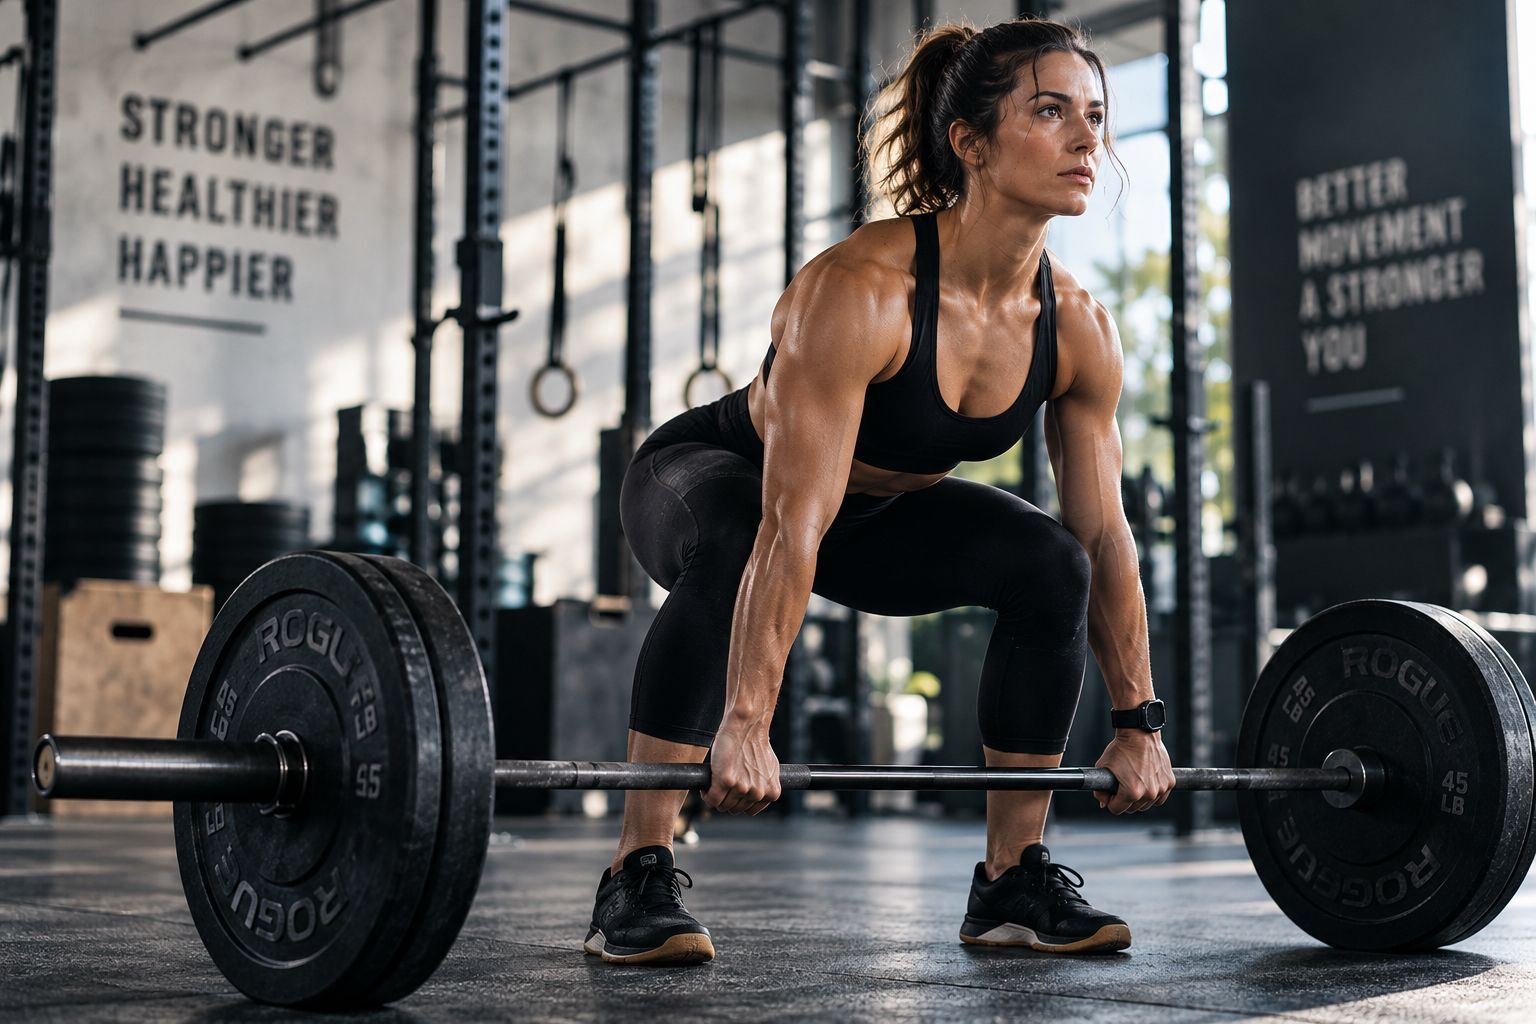
Training Through Pain as a CrossFit Athlete?

If you’ve ever gritted your teeth through a heavy deadlift or a long set of handstand pushups because you didn’t want to scale, you’re not alone and you’re also not doing yourself any favors. Pushing through pain isn’t the answer. But neither is stopping training altogether every time something feels off. There’s a smarter middle ground, and it starts with knowing exactly what to adjust so you can keep squatting, deadlifting, and moving without constantly flaring up nagging injuries.

The Five Things You Can Actually Change

Almost every movement in your WOD breaks down into five adjustable variables:

  • Load— how much weight you’re moving
  • Reps— how many times you do it
  • Range of motion (ROM)— how far your joint moves during the exercise
  • Tempo— how fast or controlled the movement is
  • Exercise selection— the movement itself

When something starts bothering you, the fix usually isn’t to abandon the movement completely. It’s figuring out which one of these five variables is actually driving your symptoms, and adjusting just that one.

Figure Out When It Hurts to Know What to Change

The timing of your pain tells you a lot about what’s going on:

Pain only shows up at heavier weights. If your back only bothers you once you’re loading anything past 315 pounds on the deadlift, that’s usually a load tolerance issue. Your body can handle the movement, just not at that weight yet. Try backing the load down.

Pain shows up late in high-rep sets. If your shoulder is fine for the first 40 handstand pushups but starts barking around rep 50, that’s more likely a fatigue or endurance issue. Here, the fix is usually trimming your reps or total volume for that movement, not cutting weight.

Pain shows up at a certain depth or position. If squatting only hurts once you pass a certain depth, you may be running into a mobility limitation. In that case, temporarily shortening your range of motion, like squatting to a box, while you work on the mobility behind it can keep you training without aggravating things.

You can’t find a pain-free way to do the movement at all. Sometimes no adjustment to load, reps, or depth gets rid of the pain. When that happens, it may be time to swap the exercise itself. If barbell bench press hurts no matter how you modify it, switching to dumbbell bench press for a while is a solid temporary substitute.

The Goal Isn’t Zero Pain, It’s Tolerable and Trending in the Right Direction

Here’s something that trips a lot of athletes up: the goal of modifying your training isn’t to feel absolutely nothing during every rep. What actually matters is whether your symptoms are tolerable in the moment, and how your body responds over the next several hours and into the next day. A little discomfort that settles down quickly is a very different situation than pain that lingers, worsens, or shows up again the next time you train.

Don’t Change Everything at Once

When something starts hurting, it’s tempting to overhaul the whole movement: cut the weight in half, switch to kettlebells, shorten the range of motion, slow the tempo down, and skip the movement entirely for two weeks, all at the same time. Resist that urge.

If your back hurts deadlifting above 315, you probably don’t need to change five things simultaneously. Pick the one variable that matches when your pain shows up, adjust that, and see how your body responds. Changing everything at once makes it impossible to know what actually helped, and it’s often a bigger disruption to your training than necessary.

Scaling Isn’t Just for Beginners

There’s a common mindset in CrossFit that scaling is something only newer athletes need. In reality, scaling is a tool for managing training stress at any level. Temporarily modifying a movement so you can keep training productively beats repeatedly irritating the same injury trying to prove you can still do the workout as prescribed. The athletes who stay consistent year after year are usually the ones who know when to dial something back, not the ones who never do.

Quick Reference: What to Modify, Based on When It Hurts

If you notice pain…Consider modifying…Example
Only at heavier weightsLoadDeadlift 275 instead of 315+
Late in high-rep workoutsVolume/fatigueReduce HSPU reps per round
At the bottom of a squatRange of motionSquat to a box temporarily
During fast/explosive repsTempo/intensityControlled reps instead of touch-and-go
After several training daysFrequency/recoveryReduce exposure that week
Regardless of load/ROMExercise variationBarbell bench → dumbbell bench

Modification Keeps You Training. It Doesn’t Fix the Root Cause

It’s worth being clear about what modification is and isn’t doing for you. Adjusting a movement can keep you in the gym and moving forward, but it doesn’t necessarily address why your tolerance changed in the first place. If box squats are the only pain-free way you can squat right now, the long-term goal shouldn’t be to box squat forever. The modification buys you time and keeps you training while you work on whatever’s actually limiting you, whether that’s strength, mobility, movement capacity, or a specific limitation that needs more focused attention.

When It’s Time to Get It Checked Out

Modifying smart solves a lot of problems, but not all of them. It’s time to get evaluated if you’re dealing with:

  • Symptoms that keep getting worse despite appropriate modifications
  • Significant swelling
  • Loss of strength or function in the area
  • Symptoms that keep coming back every time you return to normal training
  • An injury that just isn’t trending in the right direction, no matter what you adjust

None of these mean your CrossFit days are over. They usually mean it’s time for someone to take a closer look at what’s actually going on so you can address it directly instead of working around it indefinitely.

Ready to Stop Guessing and Get a Real Plan?

If a nagging injury keeps showing up no matter how you modify your training, or you’re not sure which variable is actually the problem, an evaluation can save you a lot of trial and error. We work with CrossFit athletes regularly and can help you figure out what’s driving your symptoms, and build a plan to get you back to training at full capacity, not just a modified version of it. Reach out to schedule an evaluation or give us a call.

This post is for general information only and isn’t a substitute for an individualized medical evaluation. If you’re dealing with pain during training, talk to a physical therapist about what’s appropriate for your specific situation.